Walk any apartment parking lot and you will see the same pattern. Fresh paint. A few blue signs. Maybe even a van-accessible label or two. On the surface, it looks compliant. On paper, it probably passed a quick internal check.
And yet, this is exactly where most properties get into trouble.
ADA parking compliance is not about what looks right. It is about what holds up under measurement, scrutiny, and real-world use. The difference between those two is where risk lives.
If you are leading a property team, the goal is not to memorize rules. The goal is to build a repeatable, on-site audit mindset that catches problems before they turn into complaints, failed inspections, or worse, legal exposure.
Let’s start where every solid audit starts. Not with assumptions. With counting.
Start With Reality, Not the Site Map
Most teams make their first mistake before they even pull out a tape measure. They count total parking across the entire property and run their ADA numbers from there.
That feels efficient. It is also wrong.
ADA requirements apply per parking facility, not across the full property. Accessible parking spaces must be calculated separately for each parking facility, not the entire site. A surface lot is one facility. A garage is another. A separate lot on the other side of the apartments is its own facility again.
This distinction matters more than most people realize. If you have three smaller parking areas, each one must independently meet ADA requirements. You cannot “average out” compliance across the property.
This is where experienced teams slow down and get precise.
You walk each facility. You count every space as it exists today, not as it was designed years ago. You include standard spaces, reserved spaces, and any area that functions as parking, even if it was not originally striped that way.
Only after that count is locked in do you move forward.
Anything else is guesswork.
The Table Is Simple. The Application Is Not.
ADA Table 208.2 is straightforward on paper. 1–25 parking spaces require at least 1 accessible space, scaling up to 2% for 501–1000 spaces and additional formulas beyond 1000. It tells you how many accessible spaces are required based on total parking within a facility.
The mistake is thinking the table does the thinking for you.
It does not.
What matters is how you apply it in real conditions. A facility with 26 spaces requires two accessible spaces. At 51 spaces, that number increases again. Once you move into larger counts, the scaling becomes more nuanced, and rounding errors start to show up in audits.
This is where disciplined teams separate themselves.
They do not rely on memory. They calculate each facility individually. They document the threshold they used. They verify the result twice.
Because the risk is not in misunderstanding the table. The risk is in assuming you got it right without proving it.
The Van Space Rule Is Where Properties Quietly Fail
Here is a pattern we see often. A property has the correct number of accessible spaces overall. Everything looks aligned with the table.
But the van-accessible requirement is off.
ADA requires that at least one out of every six accessible spaces be van-accessible, with a minimum of one. At least 1 of every 6 accessible parking spaces must be van-accessible. That sounds simple. In practice, it is one of the most common compliance gaps.
Why? Because teams treat van spaces as optional upgrades instead of required infrastructure.
A facility with six accessible spaces must have at least one van space. At seven, you still need two. The ratio does not wait for nice round numbers. It moves as your total moves.
And then there is the physical reality. A van-accessible space is not just a sign swap. It has different dimensional requirements, access aisle needs, and vertical clearance considerations if it sits inside a garage.
You cannot retrofit this casually. You have to plan for it.
Location Is Not a Preference. It Is a Requirement
Once your counts are correct, the next question is placement. This is where even well-intentioned teams drift off course.
Accessible spaces must sit on the shortest accessible route to an entrance. Accessible parking must be located on the shortest accessible route to an accessible entrance. Not the most convenient route for leasing staff. Not the most visible spot from the office window. The shortest accessible route.
Those last two words matter.
If the shortest path includes a curb with no ramp, it is not accessible. If it requires navigating behind parked cars in an unmarked drive aisle, it is not accessible. If it crosses a slope that exceeds limits, it is not accessible.
This is where field verification becomes critical.
You stand in the space. You walk the route. You follow it as a resident would. You look for breaks, slopes, and barriers that would not show up on a plan set.
Because compliance is not judged from the air. It is judged at ground level.
Slopes and Surfaces Tell the Truth
You can have perfect counts and perfect placement and still fail compliance because of slope.
Maximum slope for accessible parking spaces and aisles is 1:48 in all directions. That is tighter than most people expect. And it is where drainage design often conflicts with accessibility.
Water has to go somewhere. So parking lots are graded to move it. That grading can easily push slopes beyond what is allowed, especially near low points or trench drains.
This is not a theoretical issue. It is one of the most cited violations in real inspections.
Experienced teams do not eyeball slope. They measure it. They check multiple points within the same space. They pay special attention to access aisles, where slight grading changes can create non-compliant conditions.
Surface condition matters too. Cracked asphalt, loose gravel, or uneven patches can turn a technically compliant space into a functional failure.
Residents do not experience compliance in percentages. They experience it in stability. In traction. In whether a wheelchair can move smoothly from car to entrance.
Dimensions Are Where Precision Wins or Loses
At some point in every audit, the tape measure comes out. This is where theory meets reality.
A standard accessible parking space must be at least 96 inches wide, paired with a 60-inch access aisle. Van spaces follow one of two configurations. Either a 132-inch wide space with a 60-inch aisle, or a 96-inch space with a 96-inch aisle.
That flexibility is helpful. It also creates room for error.
Striping fades. Contractors round numbers. Spaces get adjusted over time to fit more cars. What was compliant at installation can drift out of compliance without anyone noticing.
This is why measurements must be taken in the field, not assumed from old plans.
Shared access aisles introduce another layer. They can serve two spaces, but only if they are properly positioned and sized. Angled parking layouts complicate this further, often reducing usable aisle width without it being obvious.
You cannot rely on visual alignment. You measure each element independently.
Because when an inspector shows up, they are not checking intent. They are checking inches.
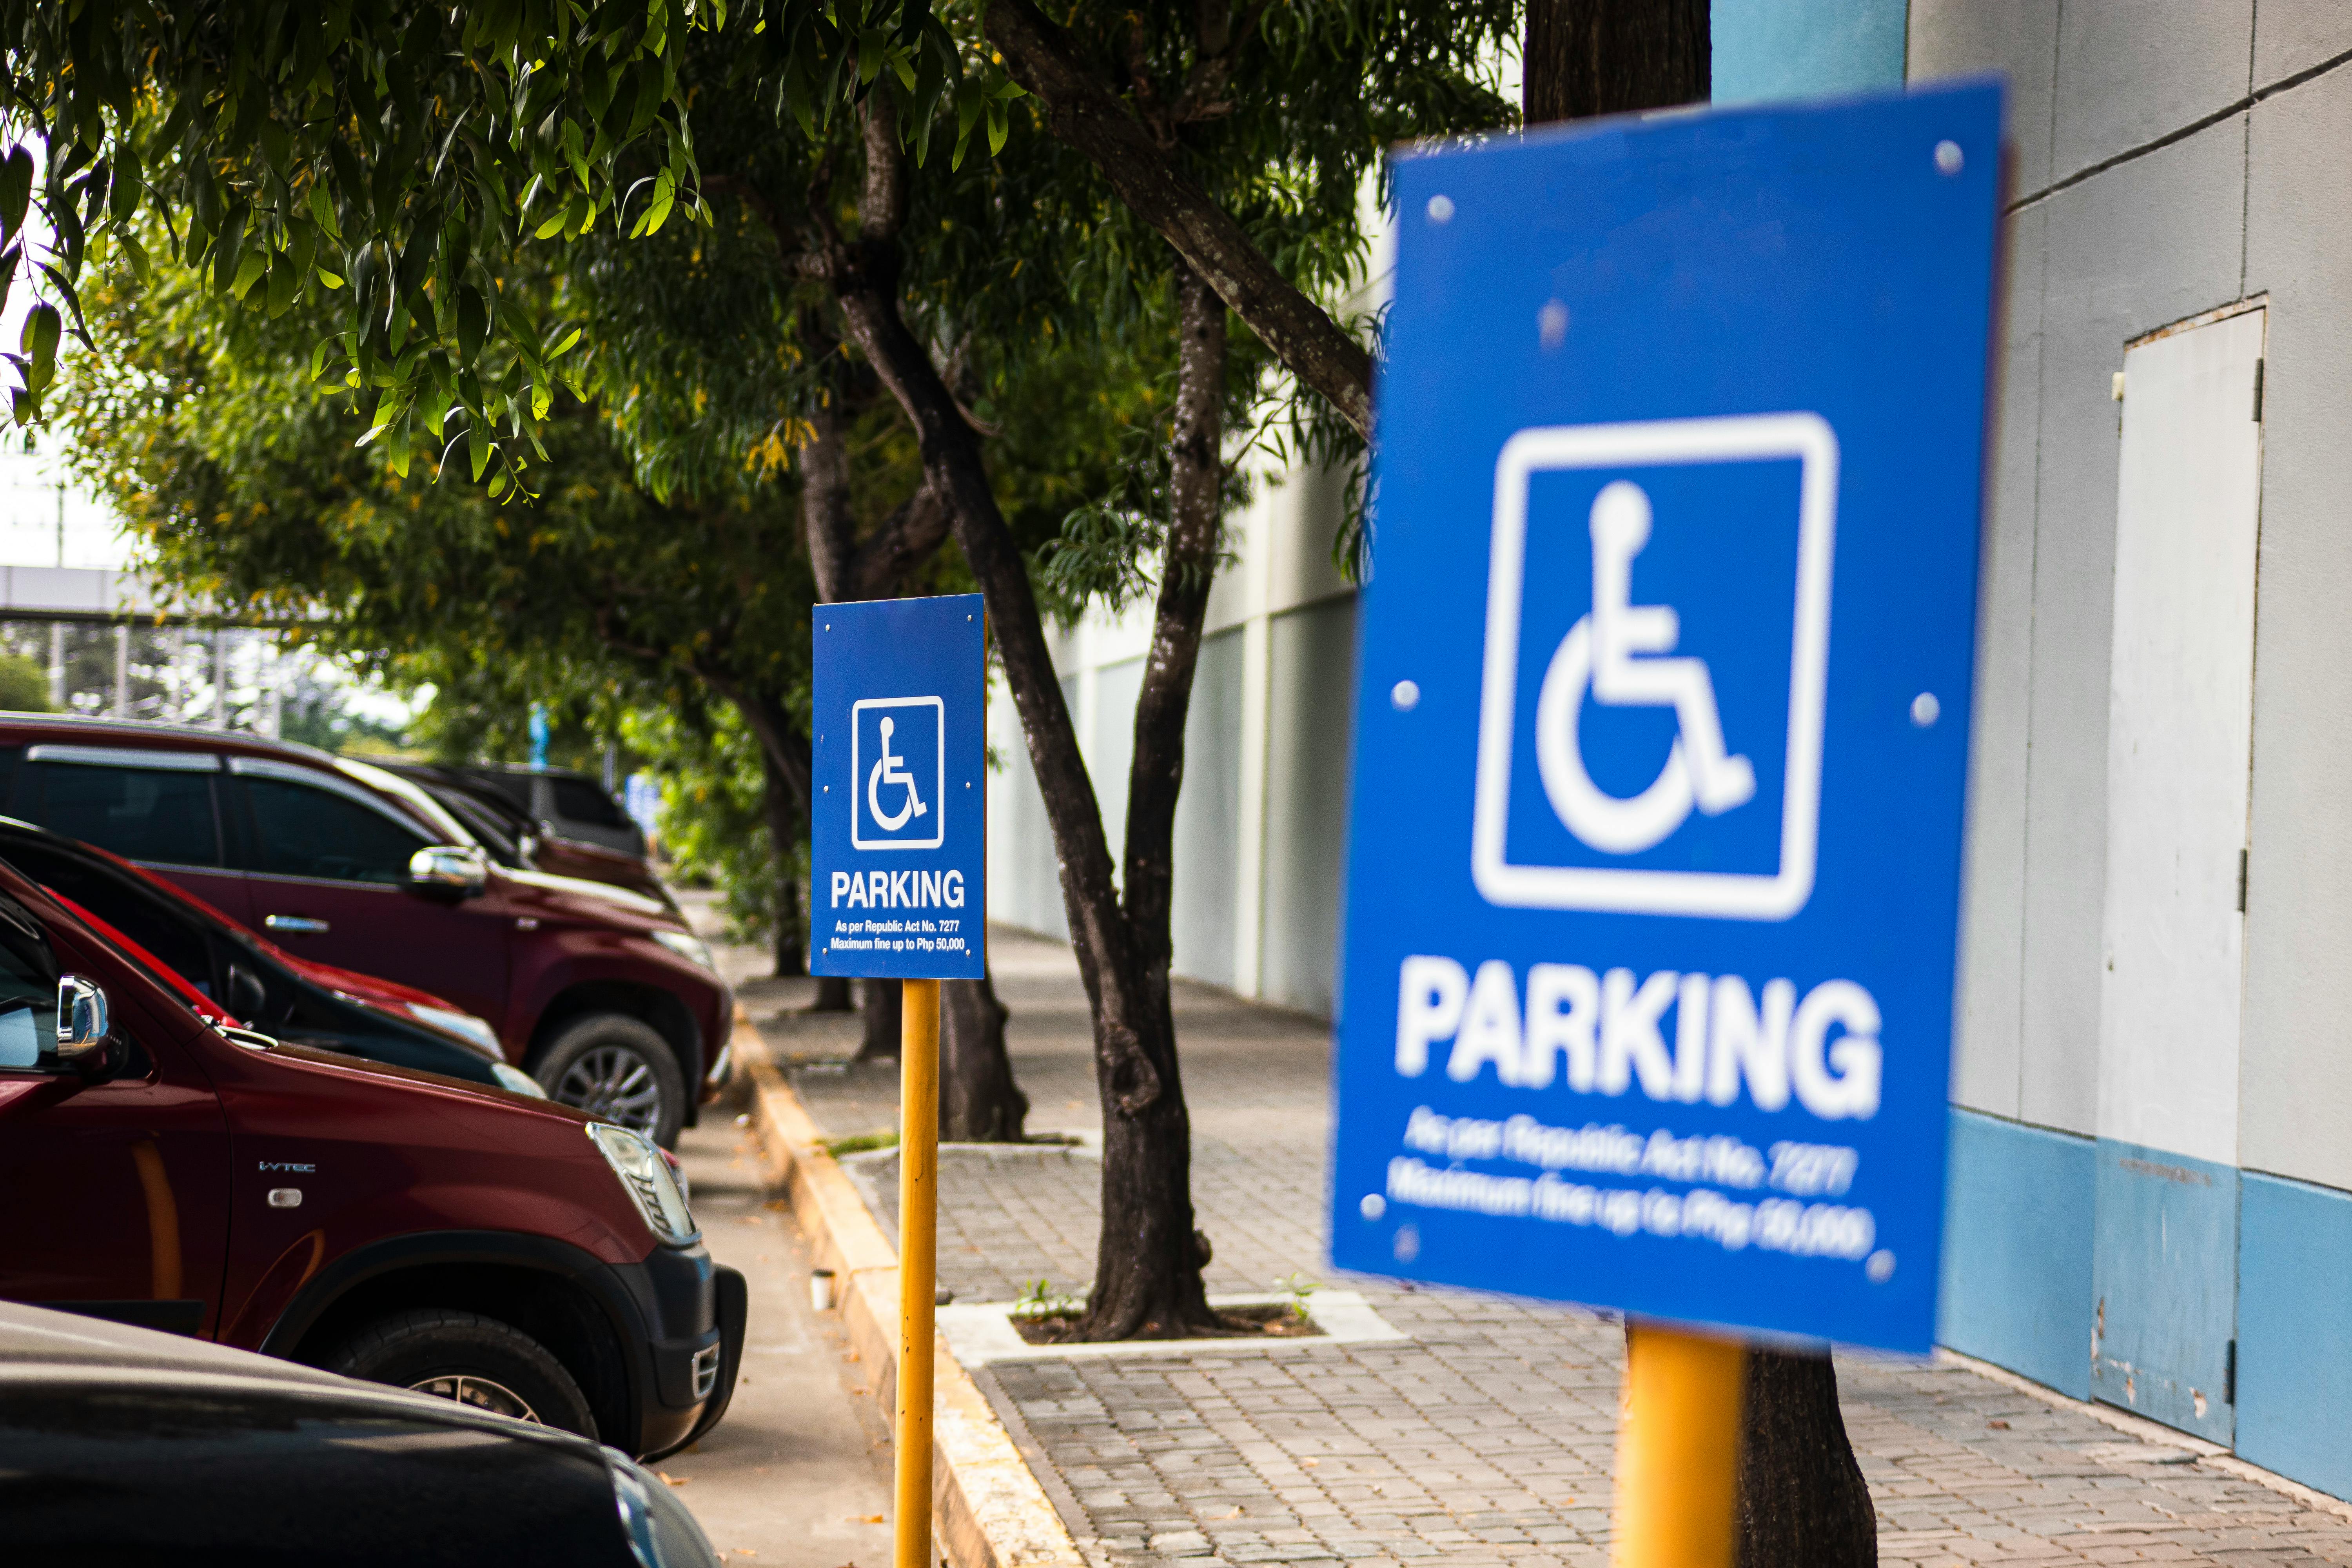
Signage Is the Simplest Fix That Still Gets Missed
It is almost surprising how often signage becomes the weak link.
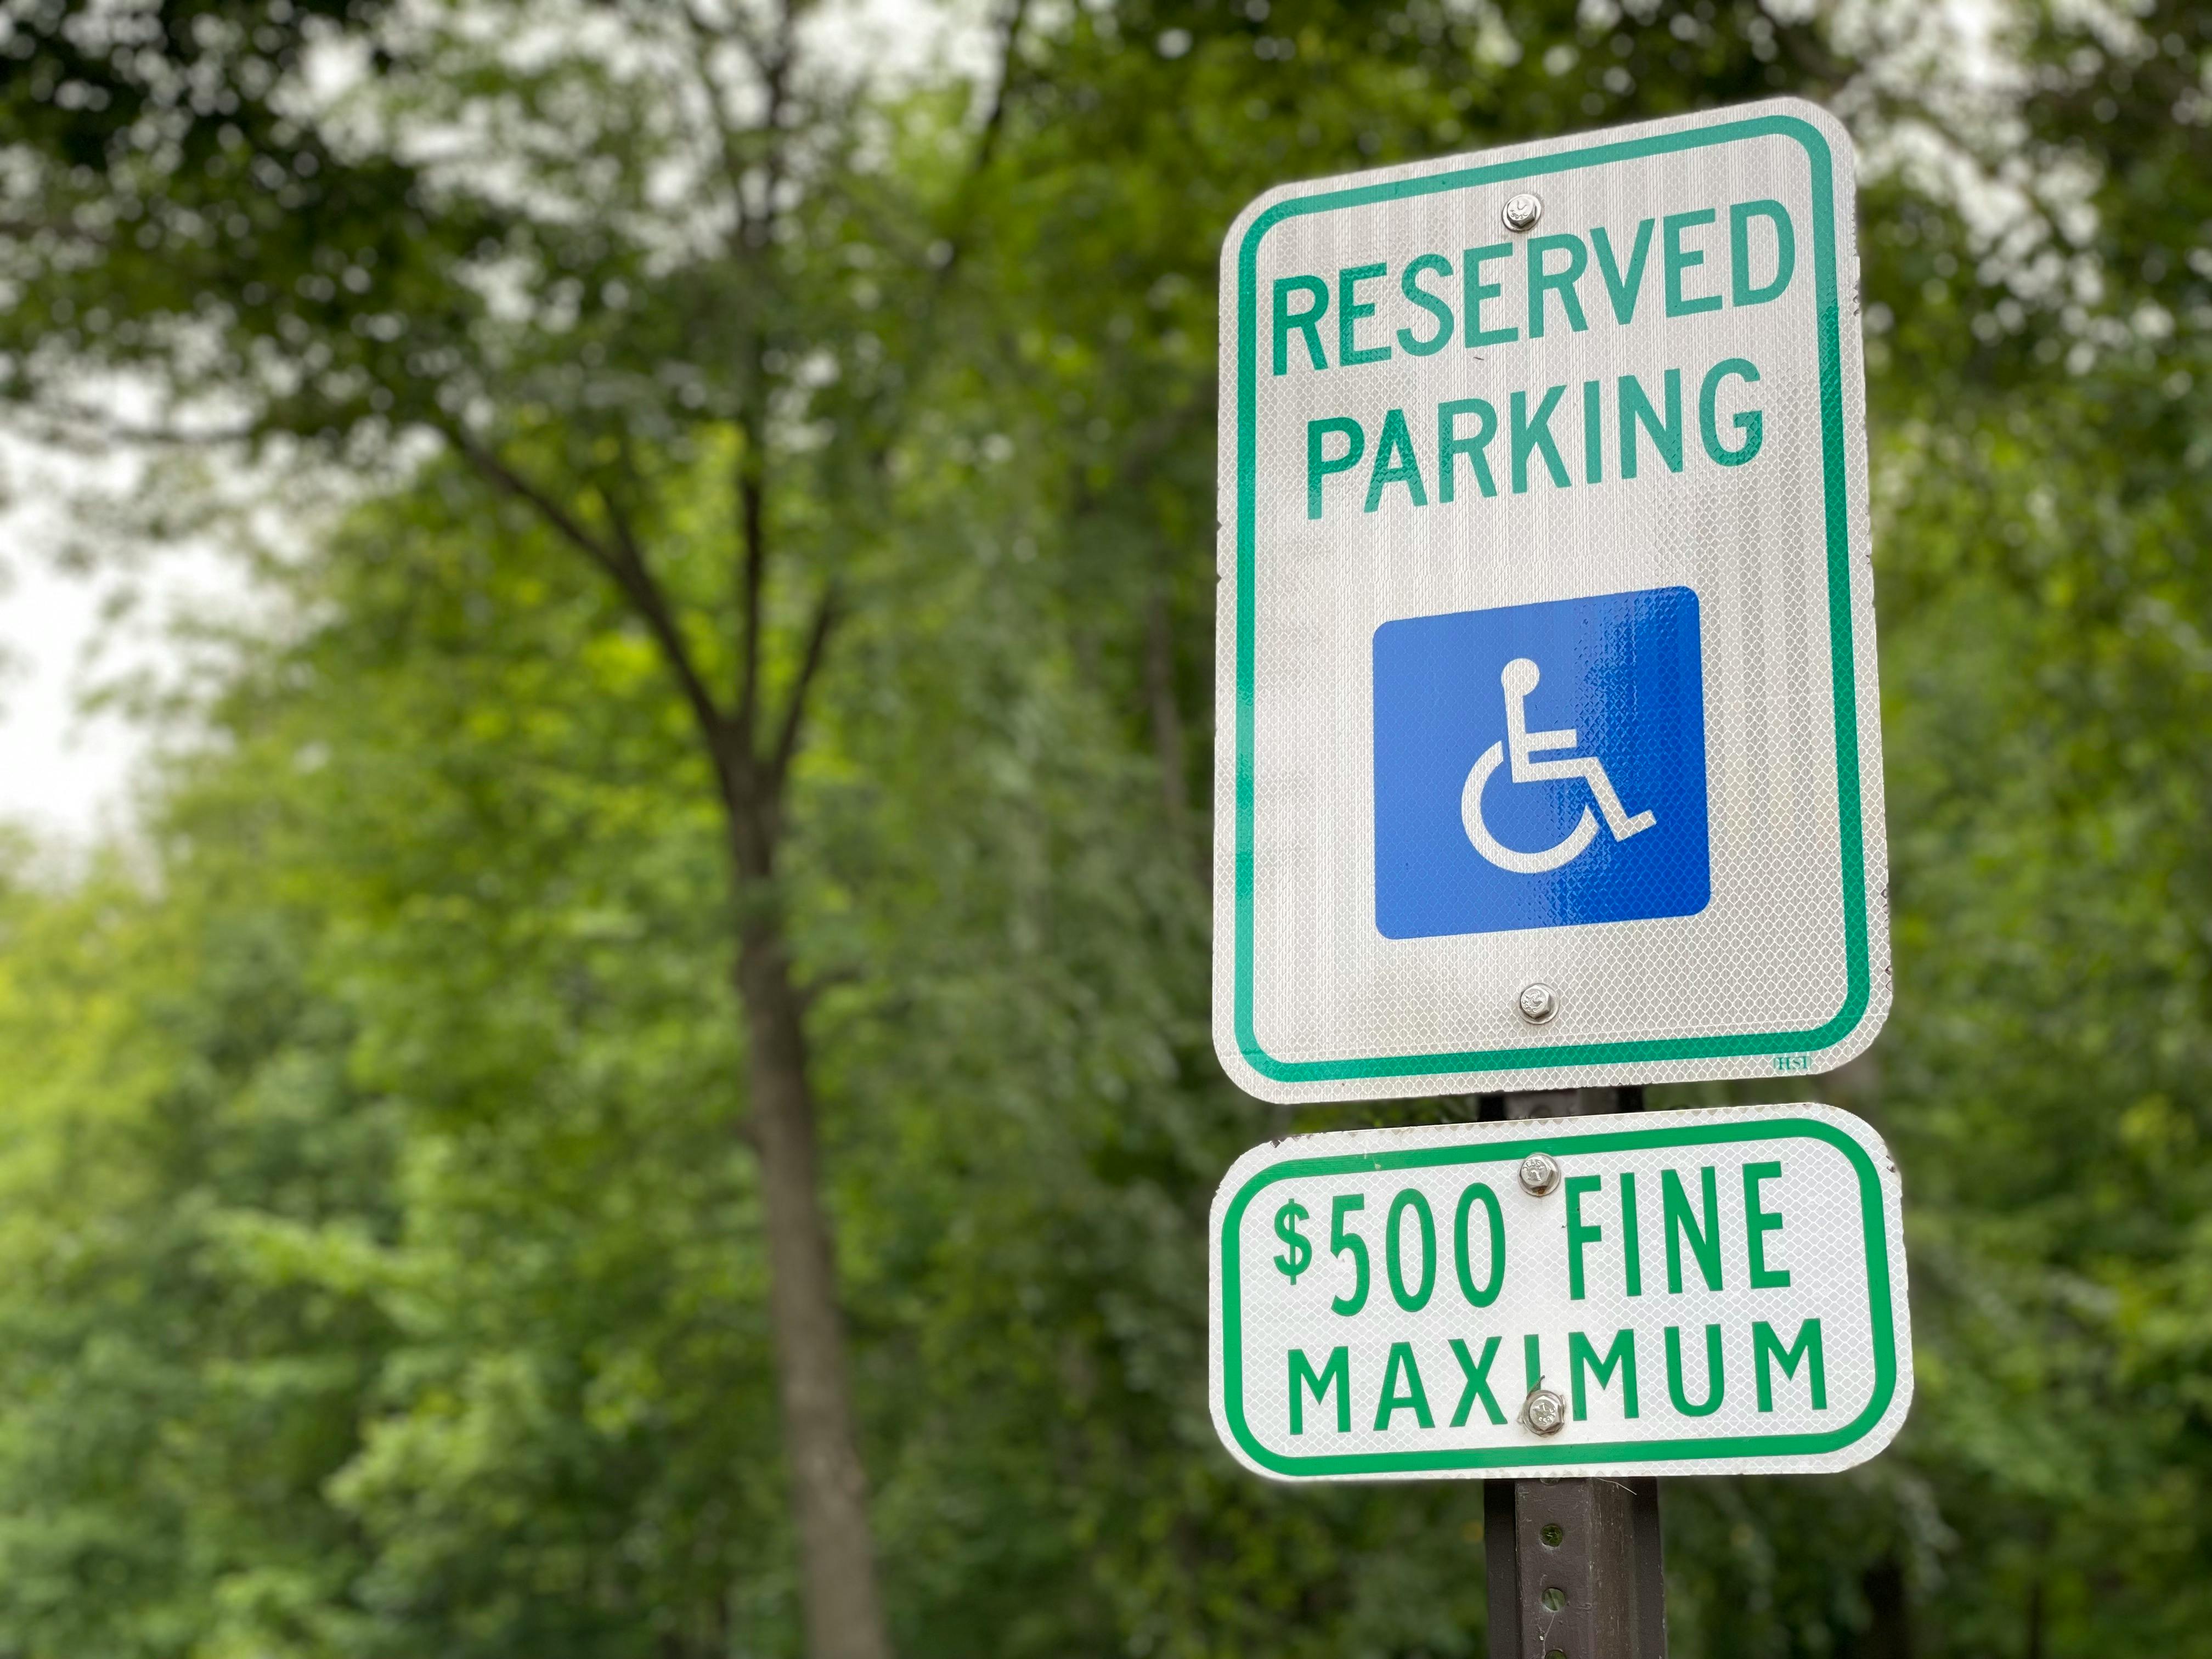
The rules are not complicated. Accessible spaces must display the International Symbol of Accessibility. Van spaces must be clearly marked as van-accessible. Signs must be mounted at least 60 inches above the ground to the bottom of the sign.
And yet, violations happen all the time.
Signs are mounted too low. They are blocked by parked vehicles. They fade or get removed and are never replaced. Teams rely on painted symbols on the ground, assuming that is enough.
It is not.
Paint alone does not meet ADA requirements. The sign must be visible even when a vehicle is parked in the space.
This is one of the easiest issues to fix. It is also one of the easiest to overlook, especially in older properties where signage has been replaced piece by piece over time.
Garages Introduce a Different Kind of Risk
Surface lots get most of the attention, but garages carry their own set of challenges.
The big one is vertical clearance.
Van-accessible spaces, along with the routes leading to them, must provide at least 98 inches of vertical clearance. Van-accessible parking requires at least 98 inches of vertical clearance. Not just at the space itself, but along the entire path from the entrance to that space.
This is where properties get caught off guard. A garage might have adequate clearance at the entrance but drop below the requirement deeper inside. Or overhead piping and fixtures may reduce clearance in ways that are not obvious until measured.
If a van cannot physically access the space, the space is not compliant, no matter how well it is striped.
The Takeaway Most Teams Miss
ADA parking compliance is not a design exercise. It is an operational discipline.
It lives in the field. In how spaces are counted, measured, placed, and maintained over time.
The properties that stay out of trouble are not the ones with the best original plans. They are the ones with teams who verify, document, and revisit these details regularly.
Because parking lots change. Striping fades. Surfaces shift. Usage evolves.
And every one of those changes has the potential to quietly push a property out of compliance.
The good news is this. Once you build a structured, on-site audit approach, the process becomes predictable. Repeatable. Defensible.
That is where confidence comes from.
Not from assuming things are right. From knowing they are.
Where Compliance Breaks Down in the Real World
On paper, most properties look close to compliant. The counts check out. The striping seems right. The signage is there.
But when you follow the actual path a resident would take, things start to fall apart.
Accessible routes are the most common failure point, and it is not even close.
A compliant parking space that leads to a broken path is not compliant. It does not matter how precise the striping is if the route itself fails.
This is where experienced operators shift their mindset. They stop looking at parking spaces as isolated elements and start looking at the full journey.
You park. You exit the vehicle. You move through the access aisle. You transition onto a route. You reach the entrance.
That entire sequence has to work without interruption.
The Route Is the System
An accessible route must be continuous. No curbs without ramps. No sudden level changes. No narrow pinch points that force someone into a vehicle lane.
In large apartment communities, this is where design intent and lived reality drift apart.
A route might technically exist, but it winds behind parked cars, crosses active drive aisles without clear markings, or slopes just enough to create difficulty.
None of that shows up in a basic compliance checklist.
You have to walk it.
You have to notice where someone would hesitate. Where they would feel unsafe. Where the path technically continues but functionally breaks.
Width matters. Slope matters. Surface matters. But continuity is what ties it all together.
And continuity is where most properties quietly fail.
Crossing Traffic Is Where Risk Shows Up Fast
Some layouts make it impossible to avoid crossing vehicle lanes. That is not automatically a violation. But it does raise the bar.
If a resident has to cross a drive aisle, the path needs to be clear, predictable, and as safe as possible. That often means marked crossings, visual cues for drivers, and a route that minimizes exposure.
What you want to avoid is ambiguity.
A resident should not have to guess where to go. Drivers should not be surprised by where someone might appear.
This is where thoughtful layout adjustments can make a big difference without major construction. A small shift in striping. A clearly defined crossing. A more direct path.
These are not expensive fixes. But they require someone to actually see the problem in the field.
Signage and Striping Are Not Cosmetic
It is easy to treat signage and striping as finishing touches. Something that happens at the end of a project.
In reality, they are functional controls.
A missing or poorly placed sign does more than create a technical violation. It creates confusion. It invites misuse. It turns a compliant space into one that is constantly occupied by the wrong vehicles.
The International Symbol of Accessibility must be visible. Not partially blocked. Not hidden behind landscaping. Not mounted too low where it disappears behind a parked SUV.
Van-accessible designation must be clear. Not implied. Not left to interpretation.
And then there is striping.
Access aisles must be clearly marked in a way that discourages parking. Faded lines are not just a maintenance issue. They are an operational risk.
When striping becomes unclear, people start using spaces in unintended ways. They park in access aisles. They crowd adjacent spaces. They reduce the usable width that someone depends on.
This is where regular upkeep becomes part of compliance, not just aesthetics.
Multifamily Properties Have Their Own Set of Rules
Apartments introduce complexity that does not show up in other property types.
Parking is not just about total counts. It is tied to how residents actually live on the property.
Accessible dwelling units require a one-to-one relationship with accessible parking. If a unit is designed to be accessible, it needs a corresponding parking space that supports that accessibility.
Then there is the rest of the parking supply.
Beyond the spaces tied directly to units, additional parking must include accessible spaces based on a percentage. That 2 percent rule often gets overlooked or misapplied, especially when properties expand or reconfigure over time.
Guest parking adds another layer.
It is not enough to assume that accessible spaces near residential buildings cover visitor needs. Guest or visitor parking areas must be evaluated separately, with their own compliance considerations.
And then there is distribution.
Large communities cannot cluster all accessible spaces in one corner and call it done. Spaces need to be distributed in a way that serves different buildings and entrances.
Assigned parking complicates things further.
If spaces are assigned, accessible spaces must still be usable by those who need them. You cannot assign them in a way that limits access or creates barriers.
This is where policy and physical layout intersect. And where small decisions can create bigger compliance issues.
Restriping Is Not a Small Change
One of the most misunderstood aspects of ADA compliance is what triggers a full review.
Restriping feels like maintenance. A simple refresh.
In reality, it often resets your obligations.
When you restripe a parking facility, you are making an alteration. And alterations bring the expectation that the facility will meet current ADA standards, not just the standards that were in place when it was originally built.
This is where the idea of “safe harbor” gets misused.
Safe harbor protects certain existing conditions that have not been altered. The moment you change the layout, even if it feels minor, that protection can disappear.
Resurfacing, repainting, or reconfiguring spaces can all trigger this shift.
This is why smart teams do not treat restriping as a standalone task. They pair it with a full ADA recalculation and field audit.
Because the cost of doing it right once is almost always lower than fixing it after a complaint.
The Mistakes That Keep Showing Up
After enough property walks, patterns become obvious.
Teams count parking across the entire site instead of per facility. That alone can throw off every downstream decision.
Van-accessible spaces are underbuilt or incorrectly designed. Either the ratio is off, or the physical space does not meet dimensional or clearance requirements.
Slopes exceed limits because of drainage design. It looks fine until someone measures it.
Spaces are placed where they are convenient, not where they are required. The shortest accessible route gets ignored in favor of what feels logical.
Signage is missing, mounted incorrectly, or allowed to degrade over time.
And perhaps most importantly, changes happen without a reset. A layout gets adjusted. Spaces get added or removed. Striping gets updated. But the ADA calculation never gets revisited.
None of these are dramatic mistakes. They are small gaps that compound.
And they are exactly what inspections and complaints tend to uncover.
Turning Audits Into a System
The difference between reactive and proactive teams is structure.
A proper ADA parking audit is not a one-time event. It is a repeatable process that can be used across properties and over time.
It starts with a clear inventory of each parking facility. Not just counts, but how each area functions.
Then comes the calculation worksheet. Applying ADA Table 208.2 to each facility, documenting the required number of accessible and van-accessible spaces.
From there, the physical measurements. Widths. Slopes. Clearances. Not estimates. Actual numbers recorded in the field.
Routes are validated next. Walking paths from spaces to entrances, checking for continuity, slope, and safety at crossings.
Signage and striping are reviewed with the same level of attention. Not just presence, but placement, visibility, and condition.
Then comes something many teams skip. Scoring.
Not all issues carry the same weight. Some create immediate legal exposure. Others impact usability but may not trigger enforcement right away.
Separating those helps prioritize action.
Finally, everything rolls into an action plan. What needs to be fixed first. What can be scheduled. What requires budget planning.
This is where tools like Pest Share quietly become valuable. Not as a replacement for expertise, but as a way to standardize how these audits are documented, tracked, and executed across multiple properties. It keeps teams aligned without adding friction.
Deciding What to Fix First
Not every issue can be addressed at once. And not every issue should be treated equally.
The most effective teams think in tiers.
First, anything that creates clear legal exposure. Incorrect counts. Missing van-accessible spaces. These are non-negotiable.
Next, true accessibility failures. Routes that do not work. Slopes that make spaces unusable. These impact residents directly.
Then come operational issues. Poor placement. Spaces that are technically compliant but consistently misused because of layout or visibility.
Finally, optimization. Adjustments that improve long-term performance. Better distribution. Slight overbuilding to handle future demand.
This kind of prioritization turns a long list into a manageable plan.
Planning for What Comes Next
The properties that stay ahead of compliance are the ones that think beyond minimum requirements.
Van usage is increasing. Designing to the bare minimum today can create pressure tomorrow. Slightly larger allocations now can prevent costly rework later.
Resident demographics are shifting. Accessibility needs tend to increase over time, not decrease.
Electric vehicle infrastructure is expanding, and it often competes with accessible parking for prime locations. Without careful planning, these two needs can conflict in ways that create new compliance challenges.
Some teams respond by doing the minimum and reacting later.
Others take a different approach. They build in flexibility. They allow space for adjustment. They think about how the property will function five or ten years down the line.
That is where compliance stops being a moving target and starts becoming part of how the property operates every day.
And once that mindset takes hold, the audit process stops feeling like a burden and starts functioning like a quiet advantage that keeps problems from showing up in the first place.